Showing posts with label Gold. Show all posts

Wednesday, 18 July 2012

Foil Splatter Tips | Scrapbook Nails

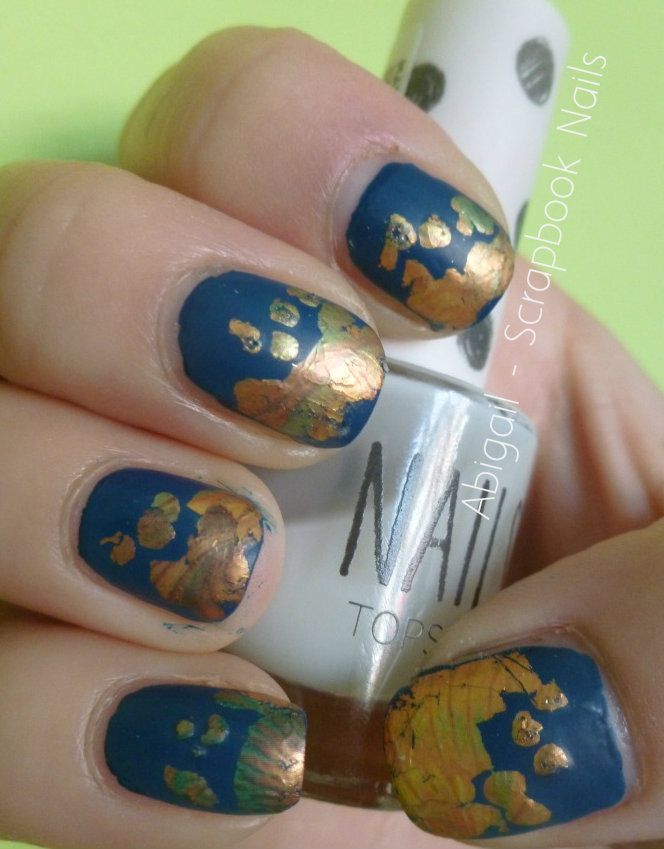
This was a bit of a fail :-(
I originally thought the foil I picked out looked a little peacock like, so I thought if I put it on my tips, on top of a blue base it might look like a peacock inspired mani.

Then I realised it looked nothing like a peacock...

So I decided to go for a 'tip splatter' and this is how it turned out.... it's not the best, but I think if I tried it again, with different colours for the base and foil, it would like quite pretty.

I used:
Base coat - No7, So Smooth

Base colour - Nails Inc, Hanover Square
Foil - from a RIO kit.
Top coat - the special foil one from the RIO kit, followed by TopShop Nails, Matte
(All topcoats are RUBBISH at keeping foils on the nails. You can see in the pics that the foil had already stared to come away from my tips after just one day. As matte topcoats are a little thicker then most, I thought I'd give that a whirl. In my opinion, it didn't make the foil last any longer - worth a try though, right!)
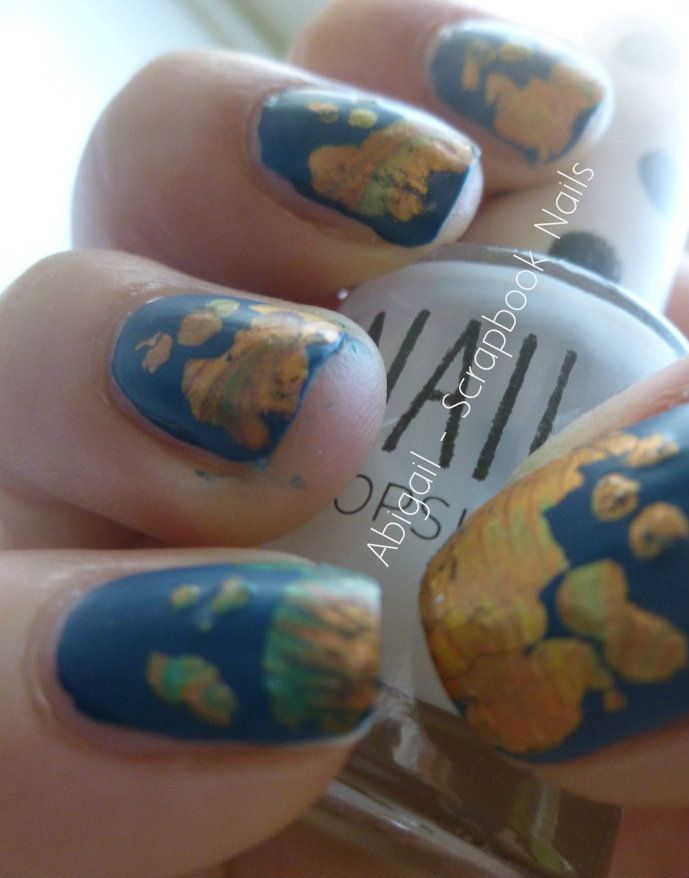
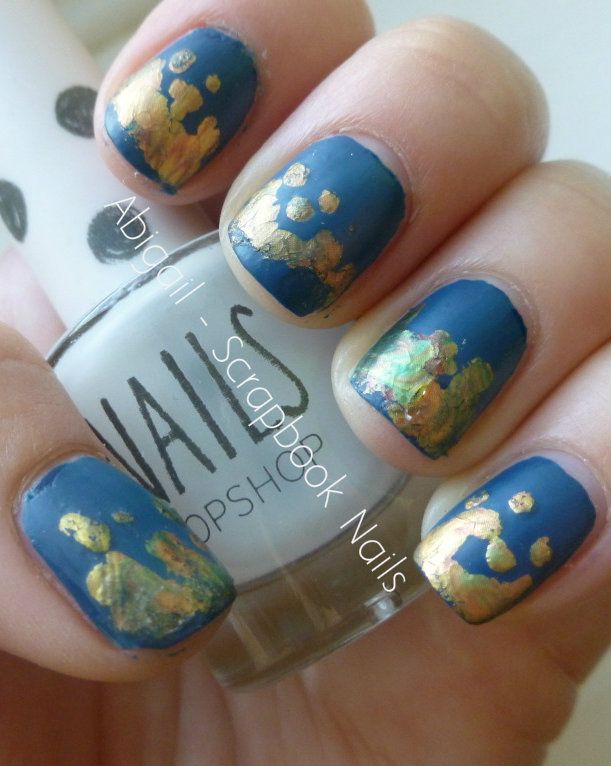
foilsplatter4 foilsplatter2 foilsplater

Wednesday, 16 May 2012

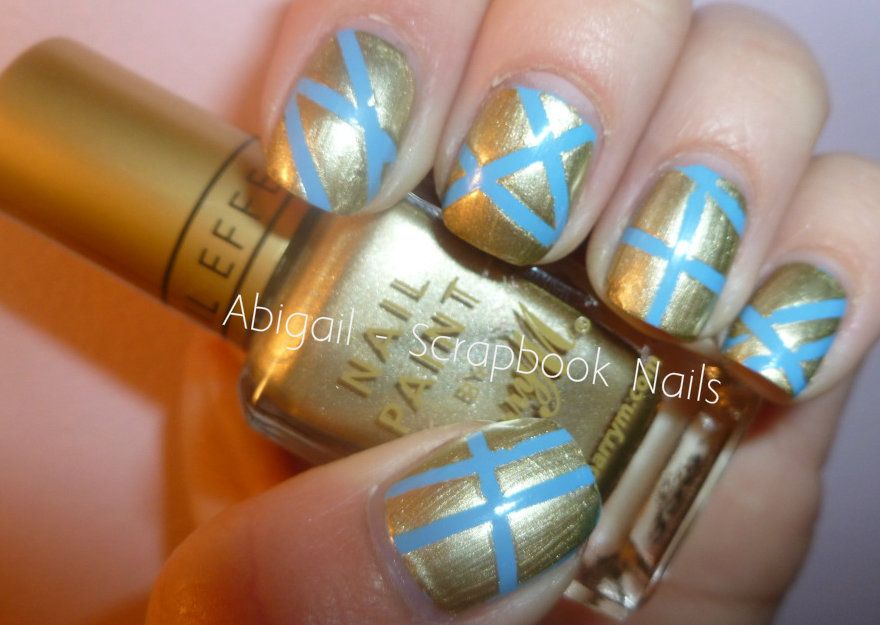
Gold & Blue Striped Nails | Scrapbook Nails

Waassapppnin?!
I did say to look out for more of these manicures... bet you didn't think you'd see one so soon haha!
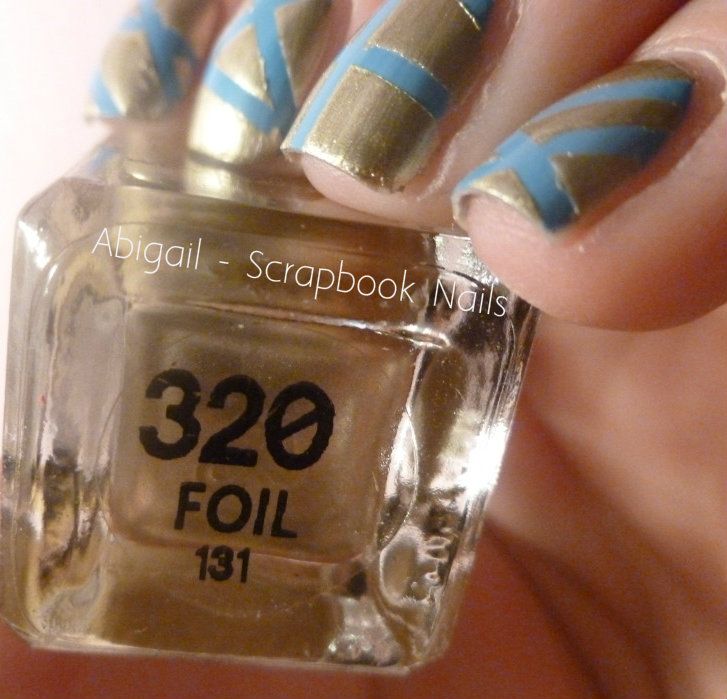
This time, I used a blue & gold combo, which I think worked quite well. With this technique, it's important to use an opaque top colour as you can only apply one coat - you have to take the stickers off before the polish dries, otherwise you'll pull up the dried polish with the sticker and your lines wont be as neat.

I used:
Base coat - No7, So Smooth
Blue Base Colour - Nails Inc, Albert Place
Gold Top Colour - Barry M, Foil - 320
Top coat - China Glaze, Fast Forward Top Coat


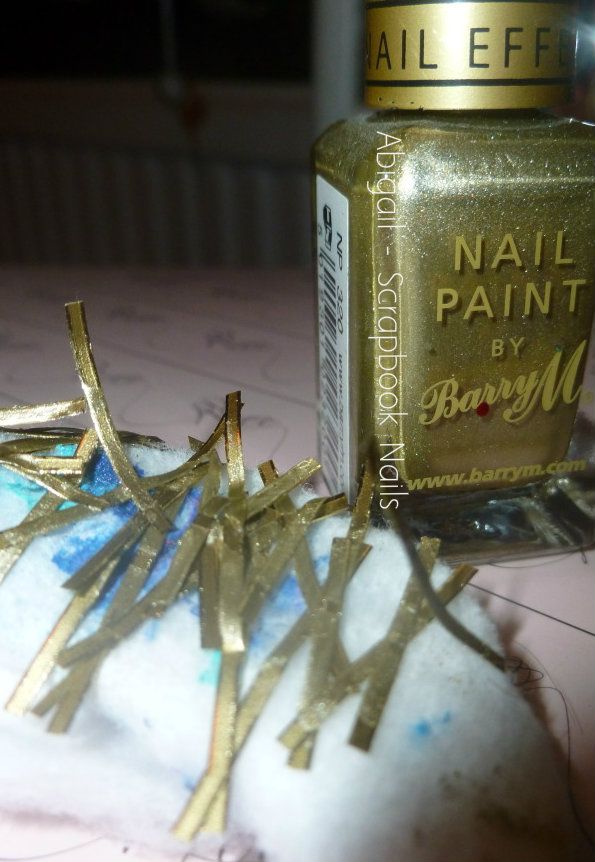
bluegoldstripe1
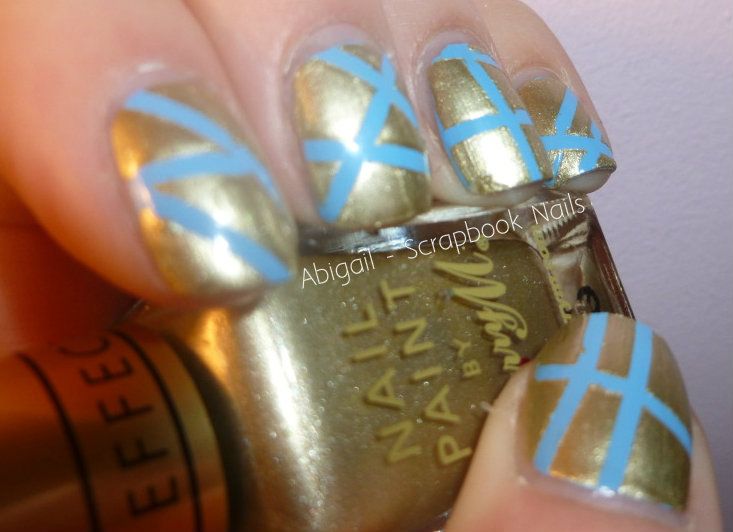
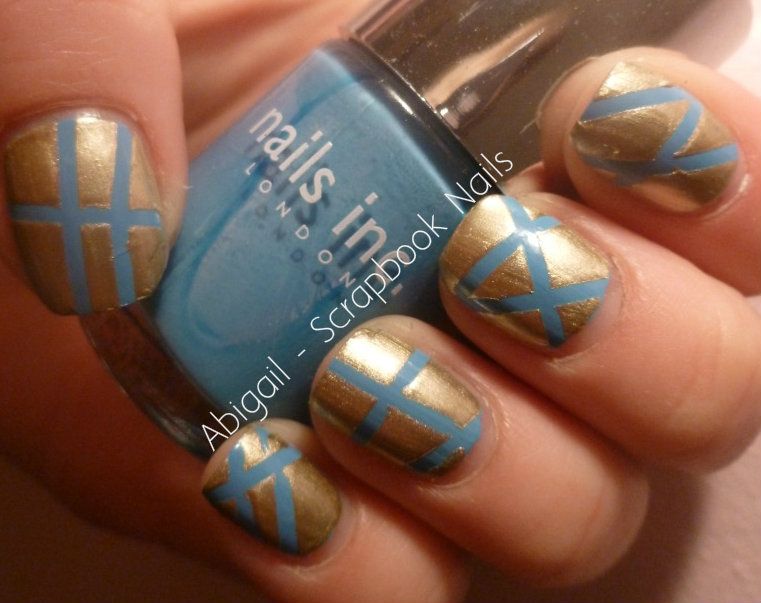
bluegoldstripe2 bluegoldstripe3 bluegoldstripe4 Photobucket

Thursday, 8 March 2012

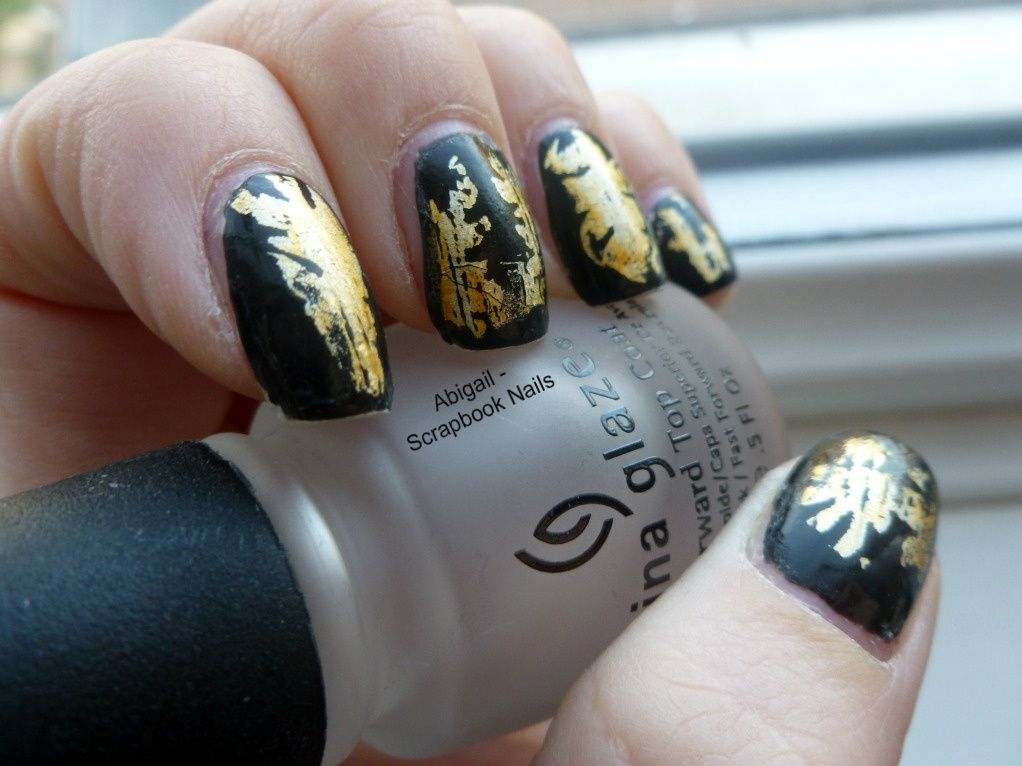
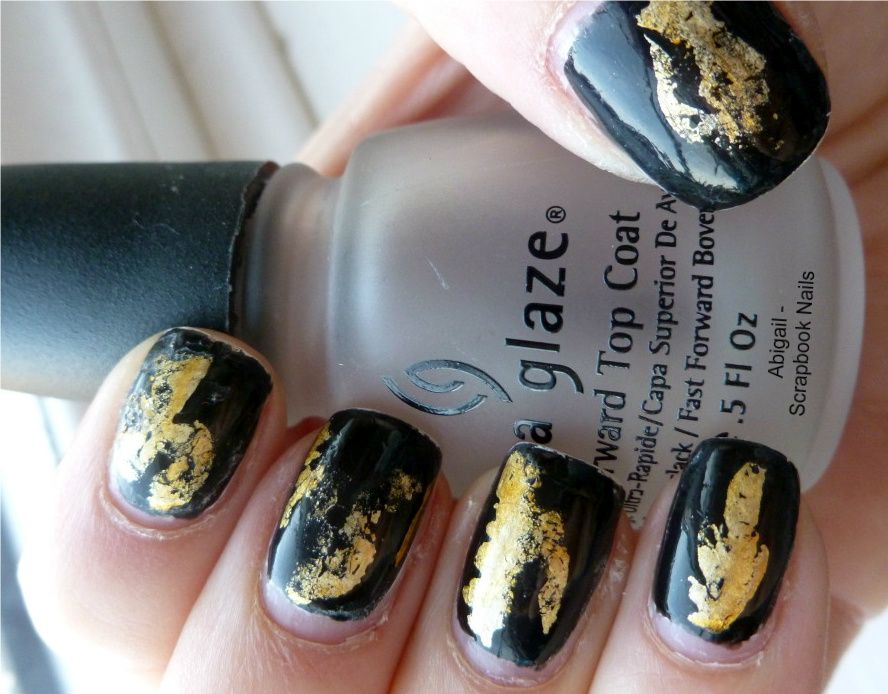
Black & Gold Foil Nails | Scrapbook Nails


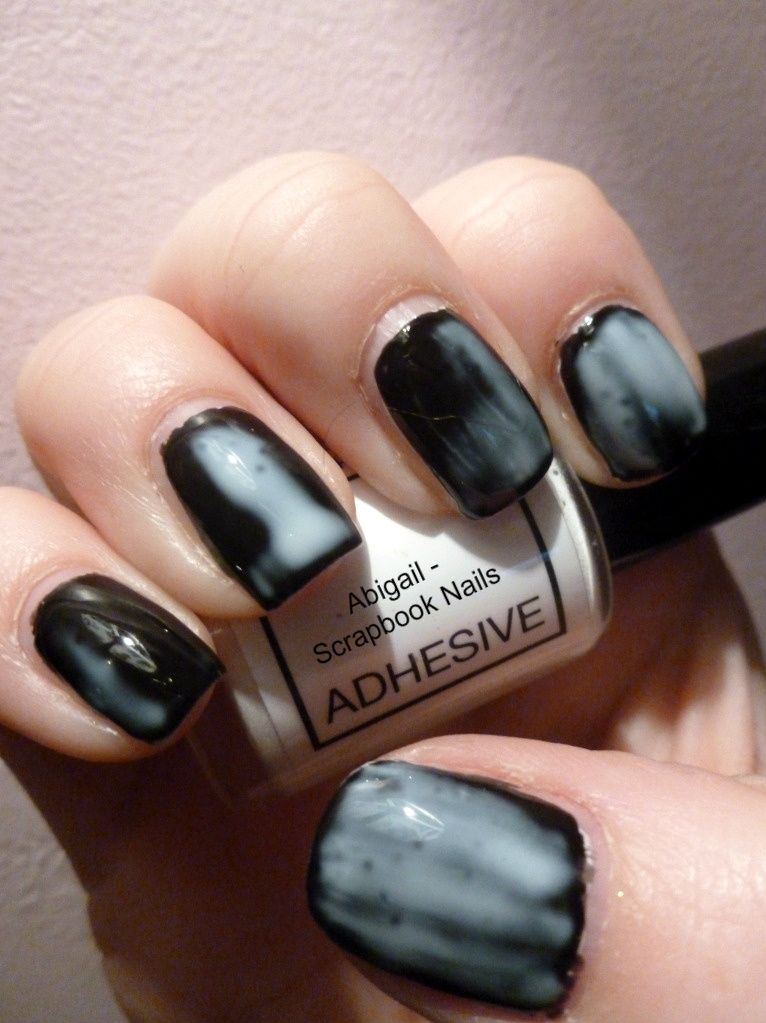
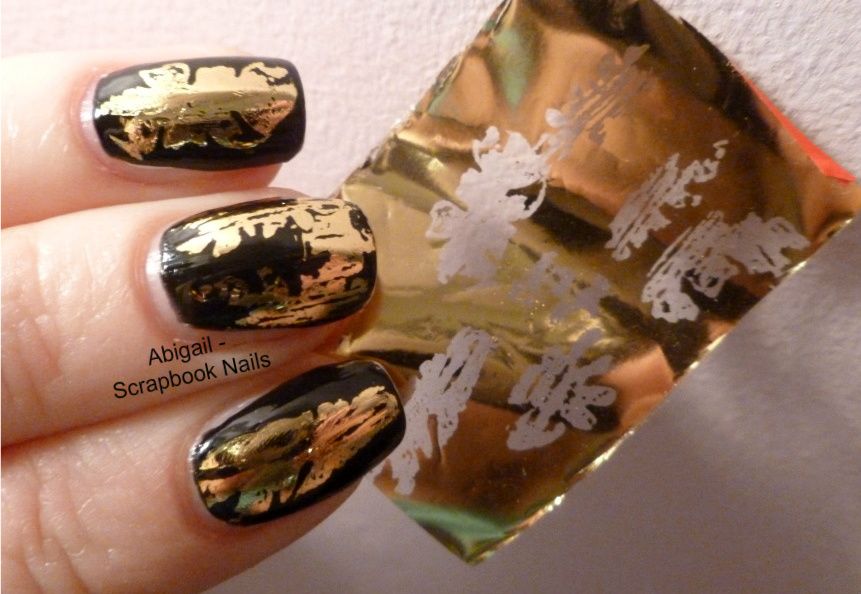
A pretty funky but simple look today. I did a base coat of black polish, put a layer of glue on each nail, and then quickly dabbed gold foil on top once the glue was partly dry, but still tacky.
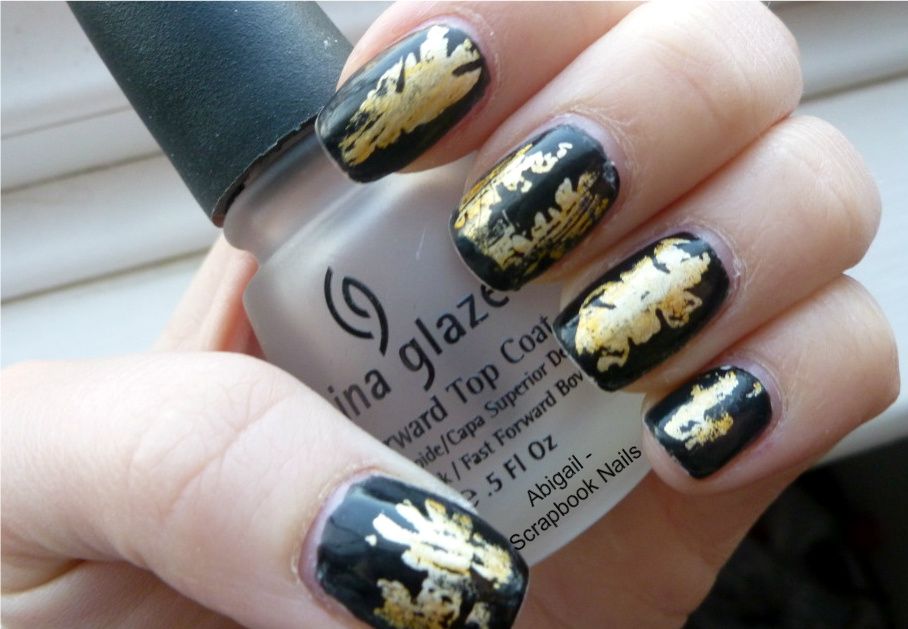
The shape on each nail is unique, sometimes I doubble-dabbed(!) to make a different shape/ to give more coverage.
I love this, it's different but very easy to do. The only slight annoyance is that even after two layers of top coat, using two different polishes, the glue still gets tacky and all sorts of fluff gets stuck to the nails!

I will be trying this look out using different foils.

I used:

Base coat - No7, So Smooth

Base colour-  Miss Sporty, Black (no name)
Glue - Rio, Adhesive (part of kit)Foil - Rio, Gold (part of kit)
Top coat 1 - Rio, 2 in 1 (part of kit)
Top coat 2 - China Glaze, Fast Forward Top Coat


Photobucket Photobucket Photobucket Photobucket Photobucket

Friday, 24 February 2012

Ƹ̴Ӂ̴Ʒ Butterflies Ƹ̴Ӂ̴Ʒ | Scrapbook Nails


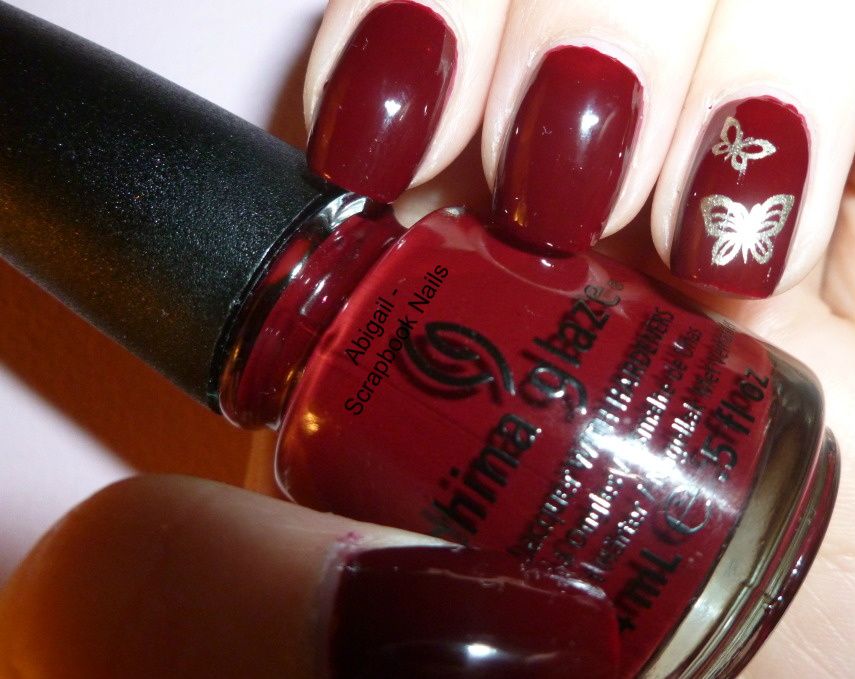
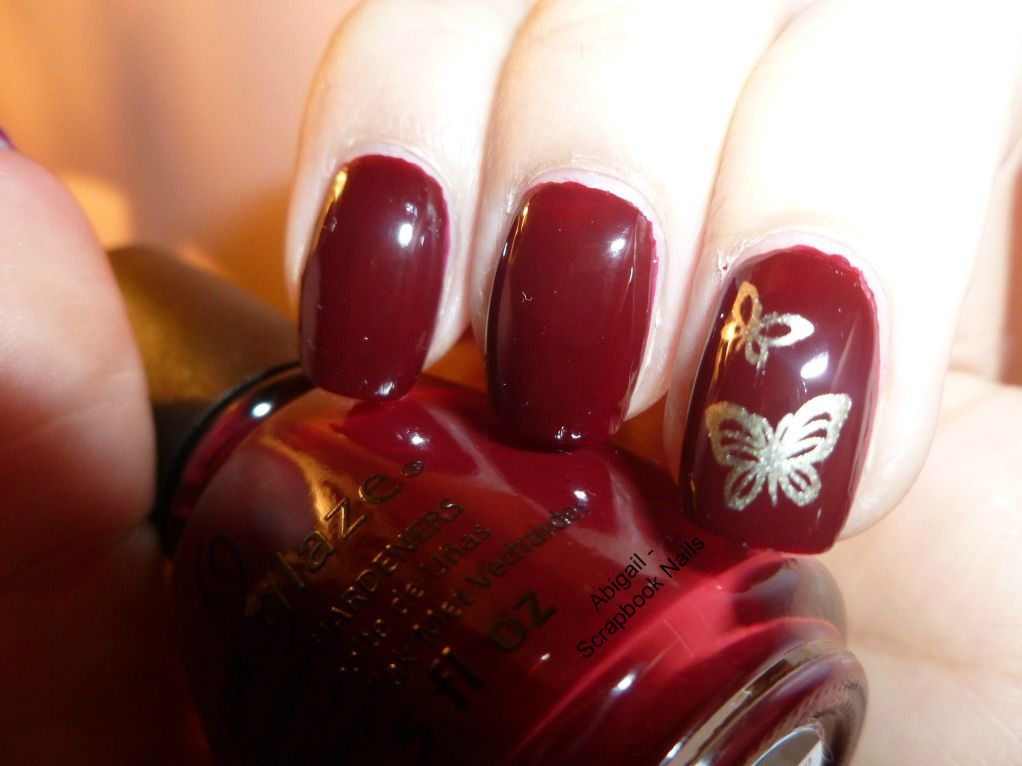
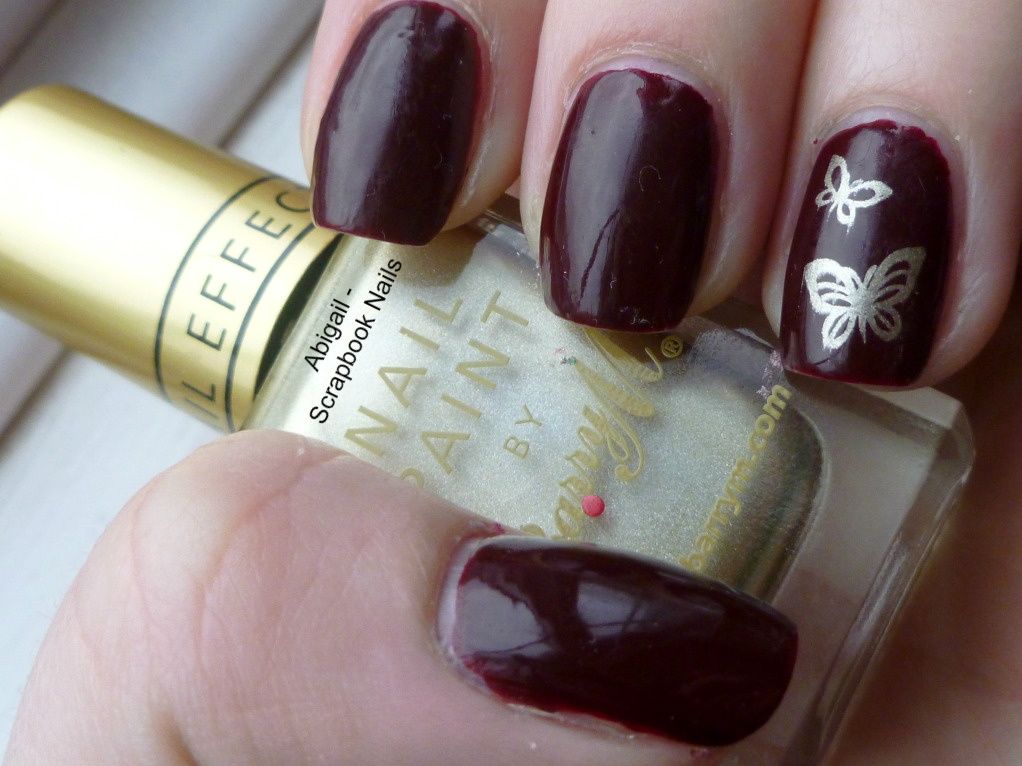
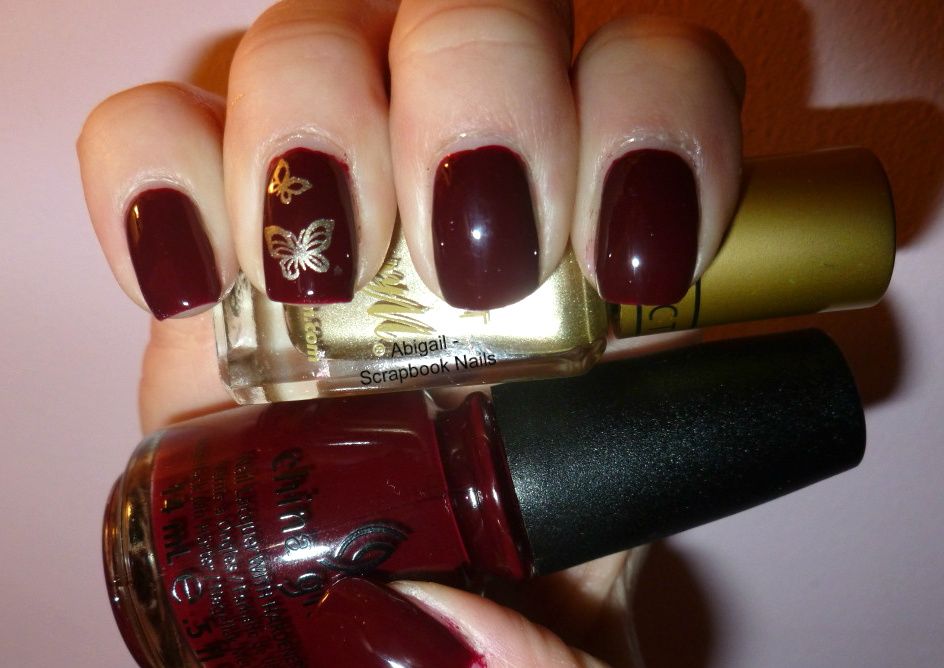
Dark red & gold were the colours suggested to me for my next mani, and this is what I ended up with :-) pretttyyy butterflies on my nails!
I used one of my Konad plates to stamp on the butterflies, and kept the design to my ring fingers to stop my nails looking too busy.

p.s. My pinky finger nail broke :'( BOOO!! And it looked particularly silly with dark nail polish on, (it's not so obvious with a lighter shade) sooo, I cut that finger out the pictures!

I used:
Base coat - No7, So Smooth
Base colour-  China Glaze, Velvet Bow
Stamping Plate - Konad, m36
Stamping Colour - Barry M, Gold Foil 320
Top coat - China Glaze, Fast Forward Top Coat
Photobucket Photobucket Photobucket Photobucket

Wednesday, 21 December 2011

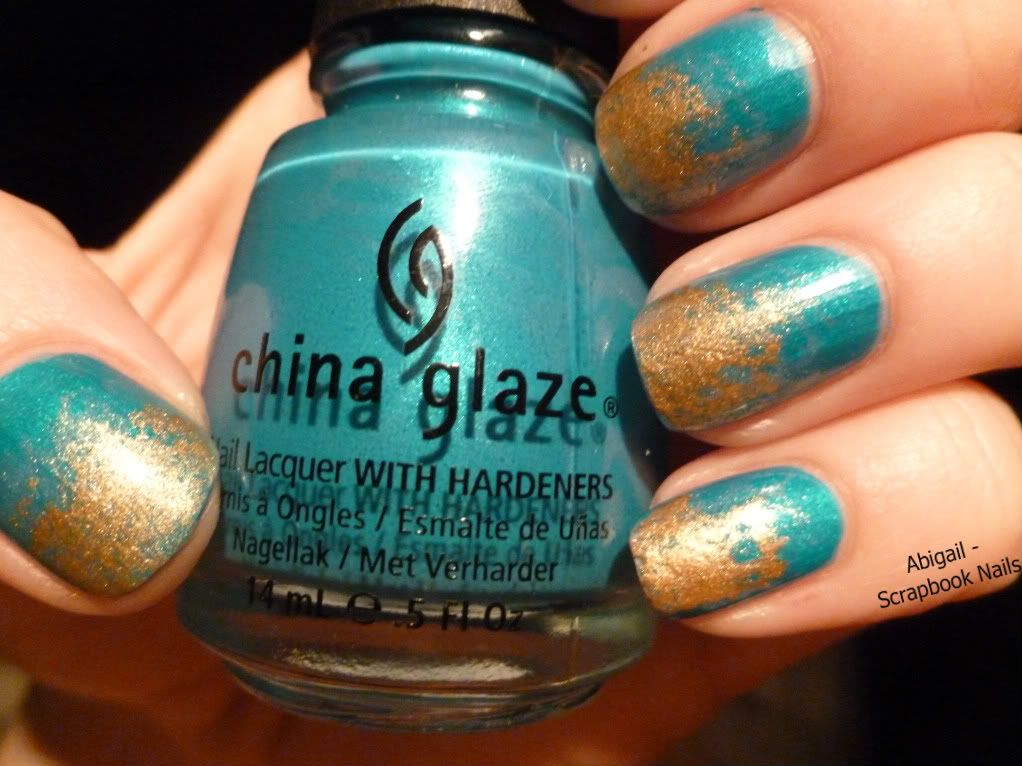
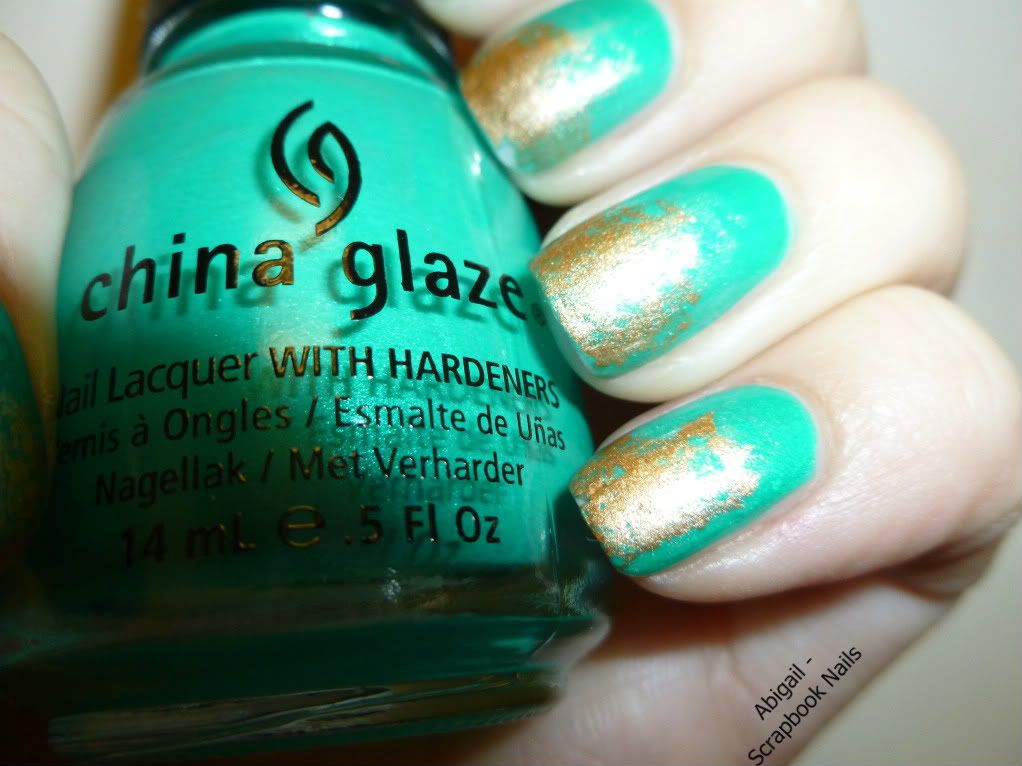
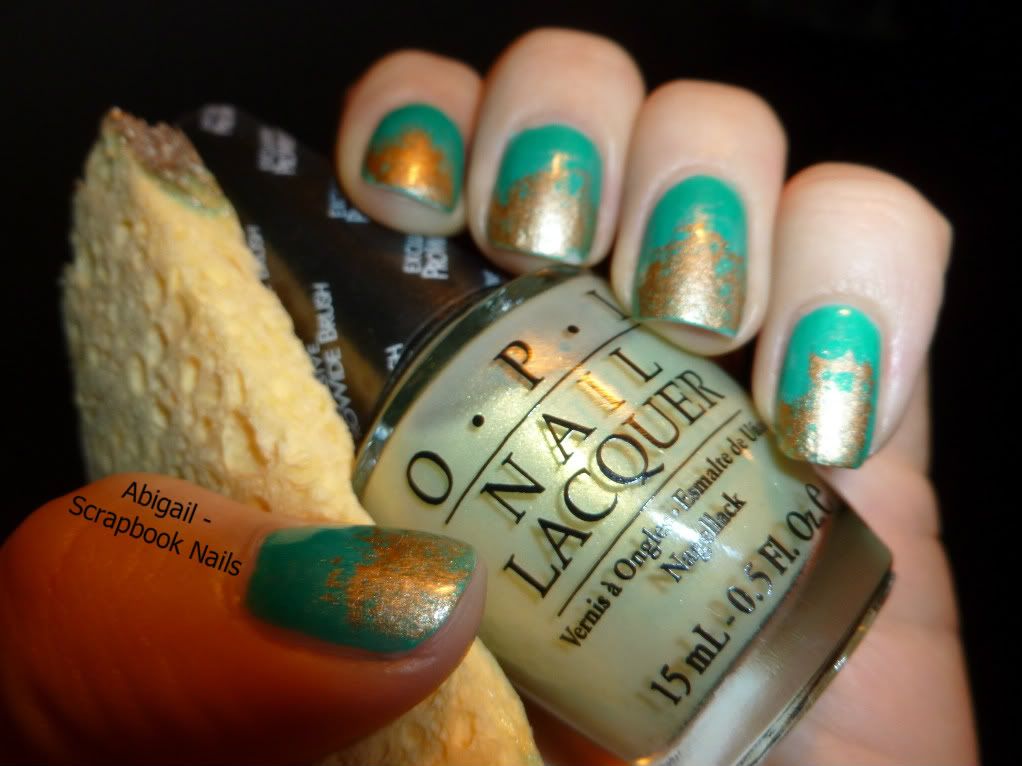
Green & Gold sponge gradient | Scrapbook Nails

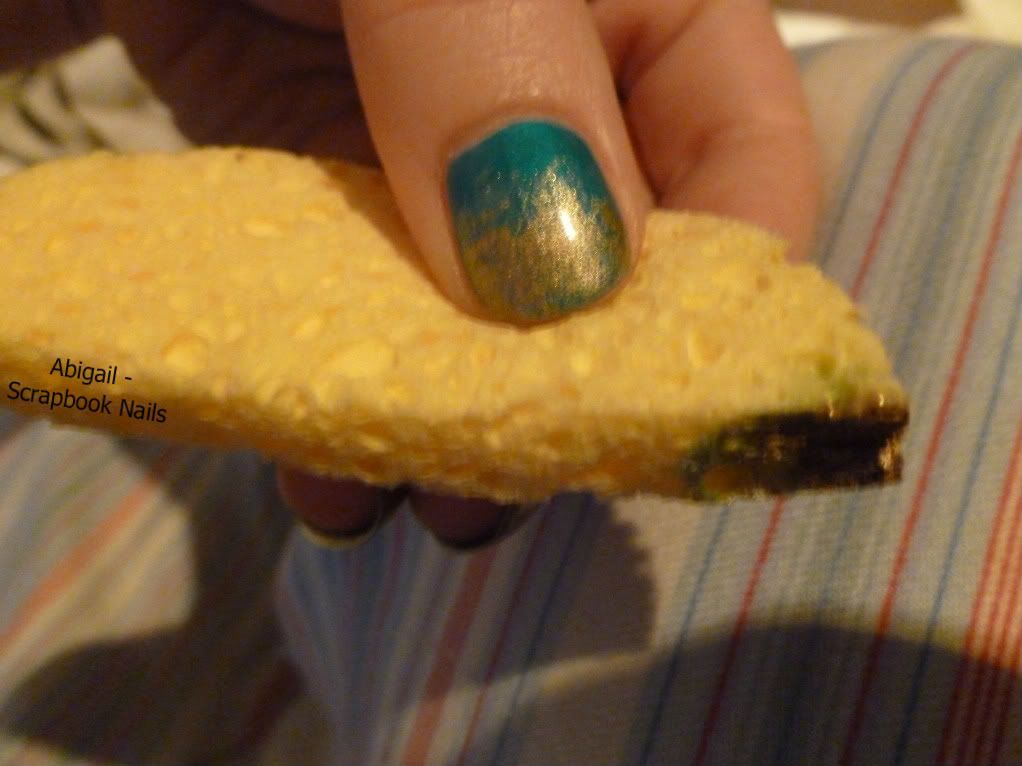
This was my first attempt at the sponge gradient technique, and I was pretty happy with how it turned out.
I couldn't get a picture in daylight, and the flash isn't showing the colours true to how they are in real life, but you can see the gradient effect. I used a greeny/gold for the first layer to try and make the gradient transition more smooth, but it's a very translucent lacquer, so you can't see it very clearly. It probably could have done with another coat.

I used:
Base coat - No7, So Smooth
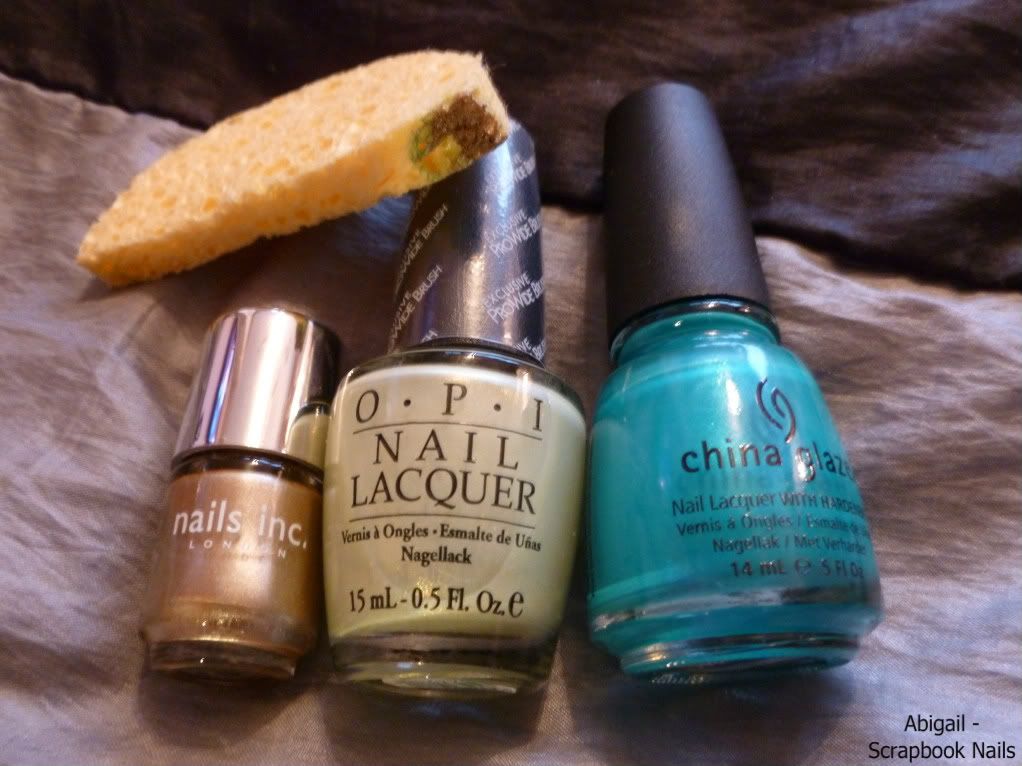
Base colour – China Glaze, Turned Up Turquoise (neon)
First gradient layer – OPI, Sit Under The Apple Tree
Second gradient layer – Nails Inc (mini), Hans Cresent
Top coat - China Glaze, Fast Forward Top Coat
I bought the sponge from Superdrug
Photobucket Photobucket Photobucket Photobucket Photobucket Photobucket

Thursday, 15 December 2011

Christmas Water Marble


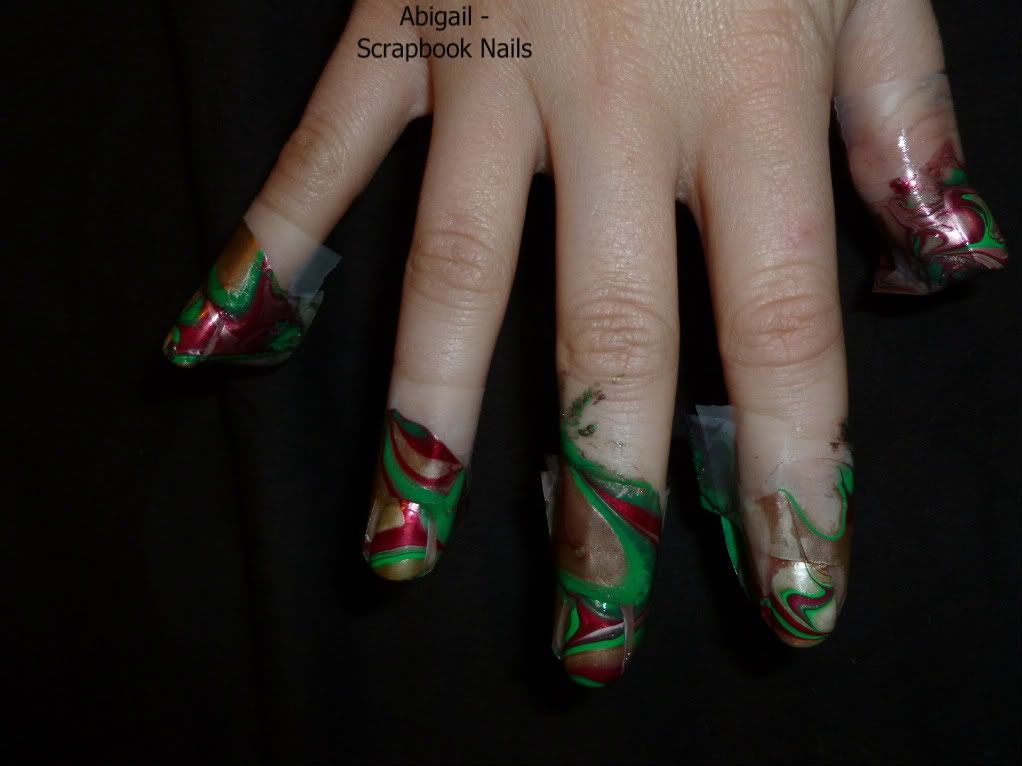
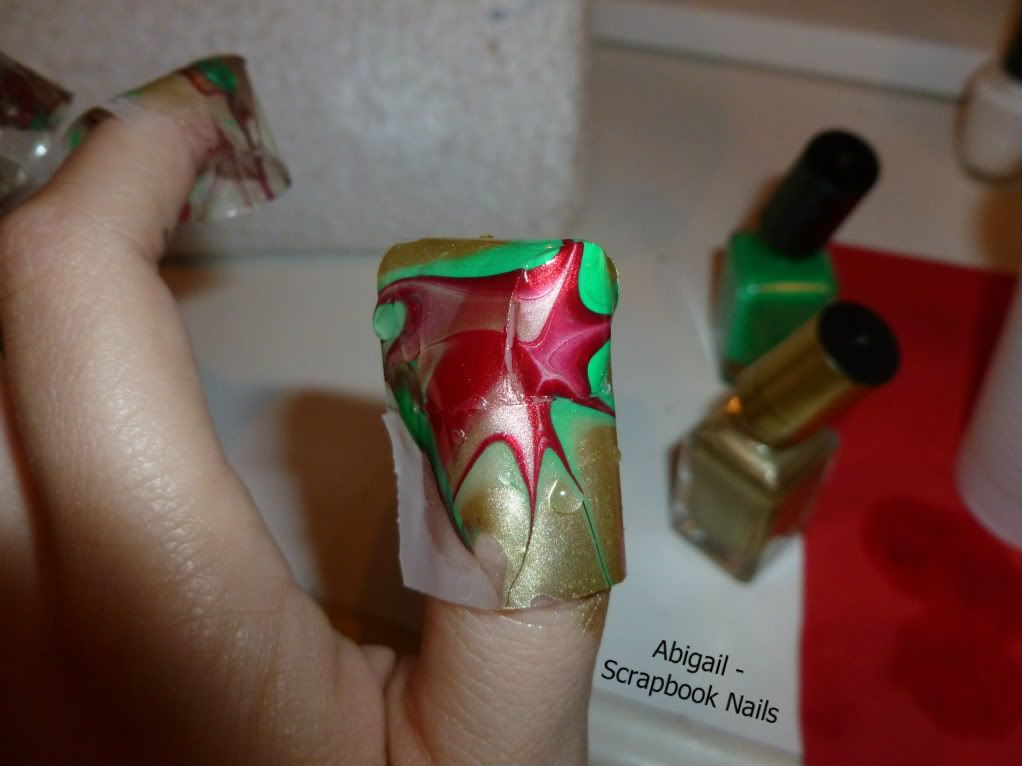
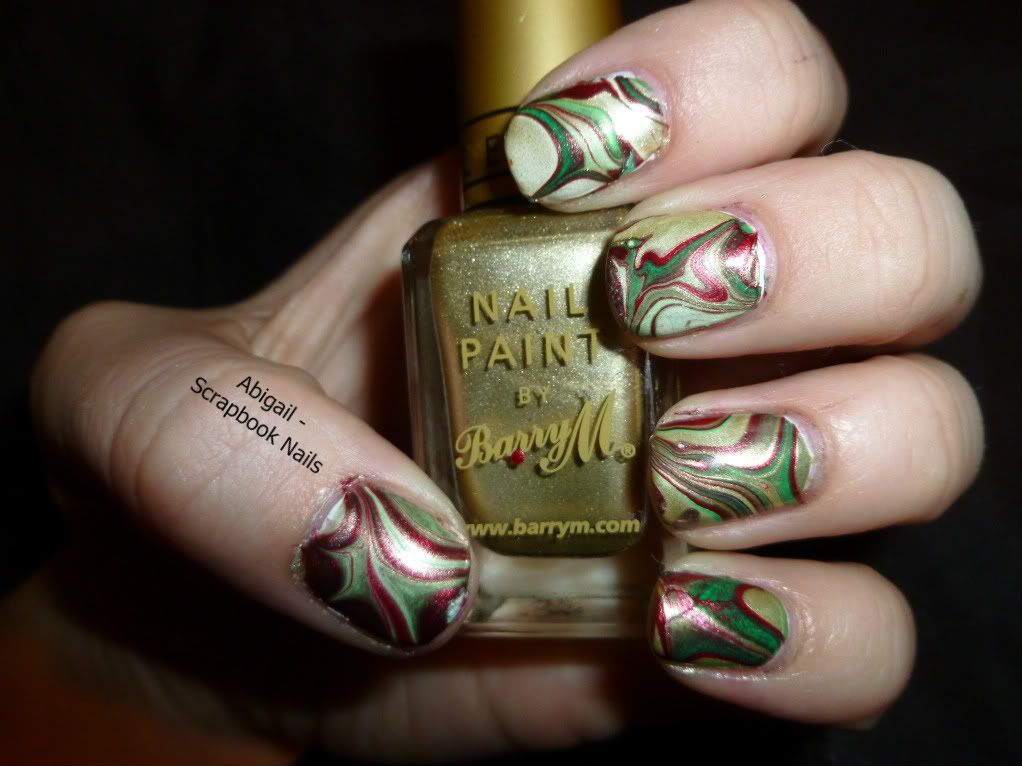
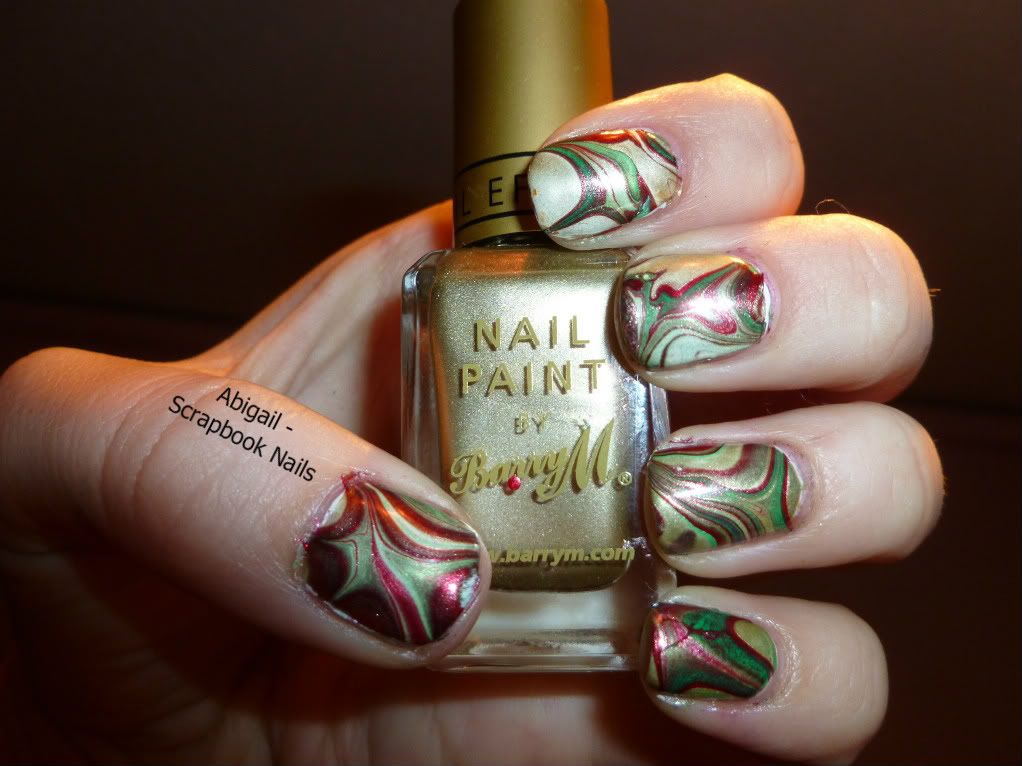
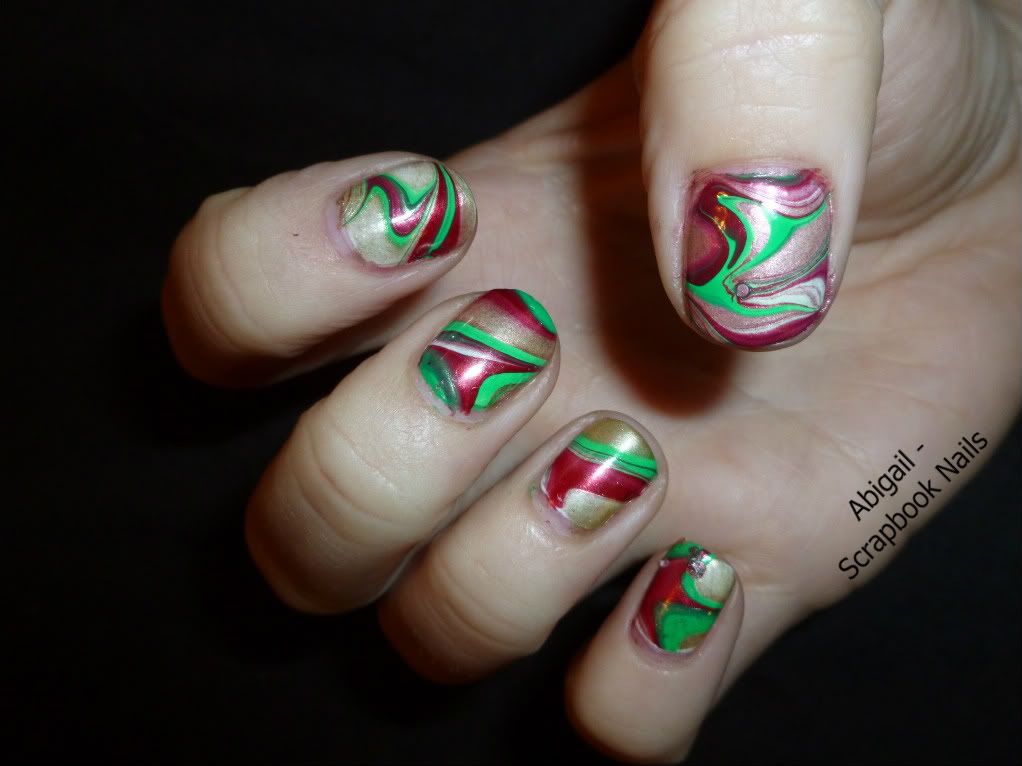
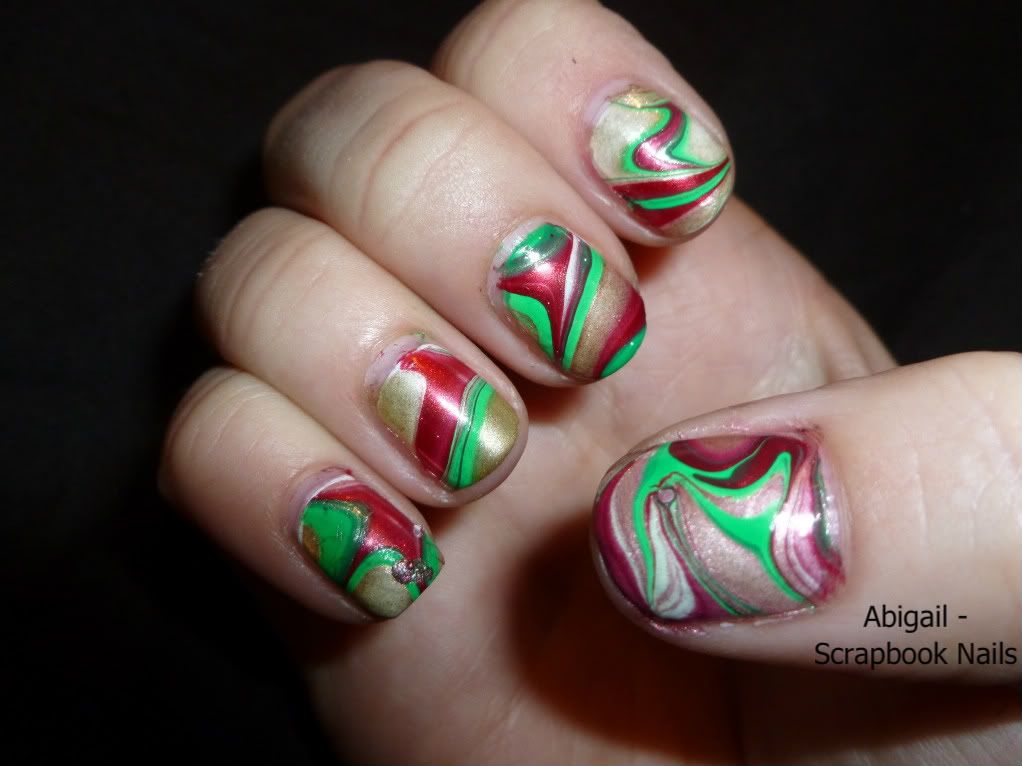
I wanted to do a festive water marble using gold, red & green.
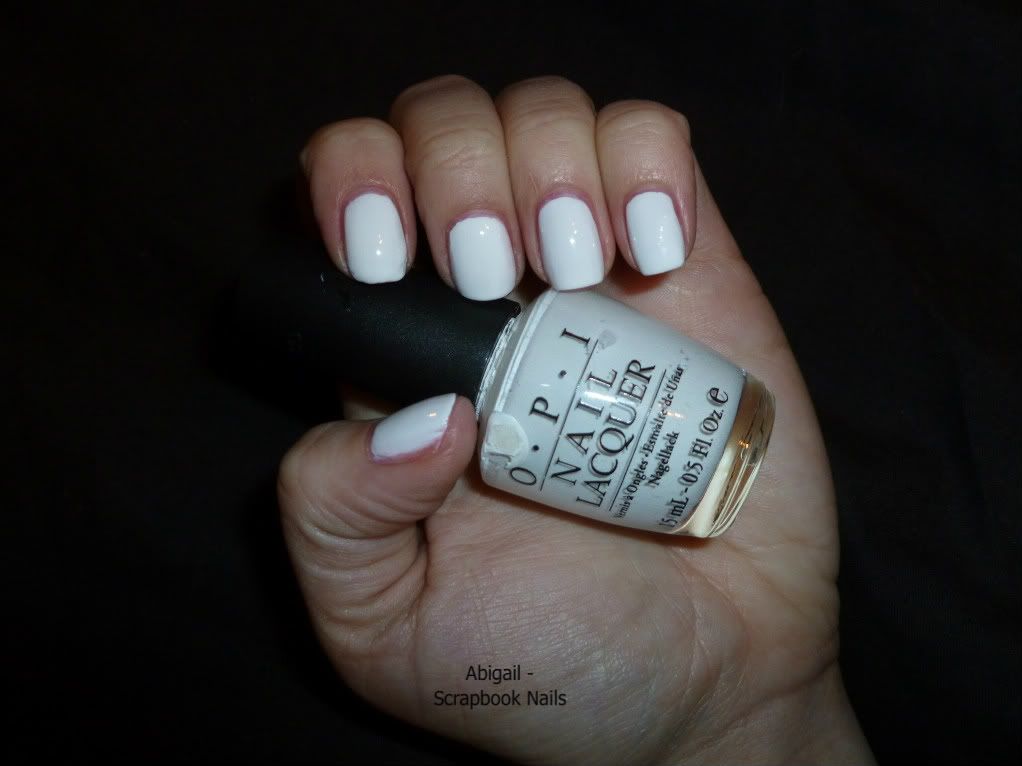
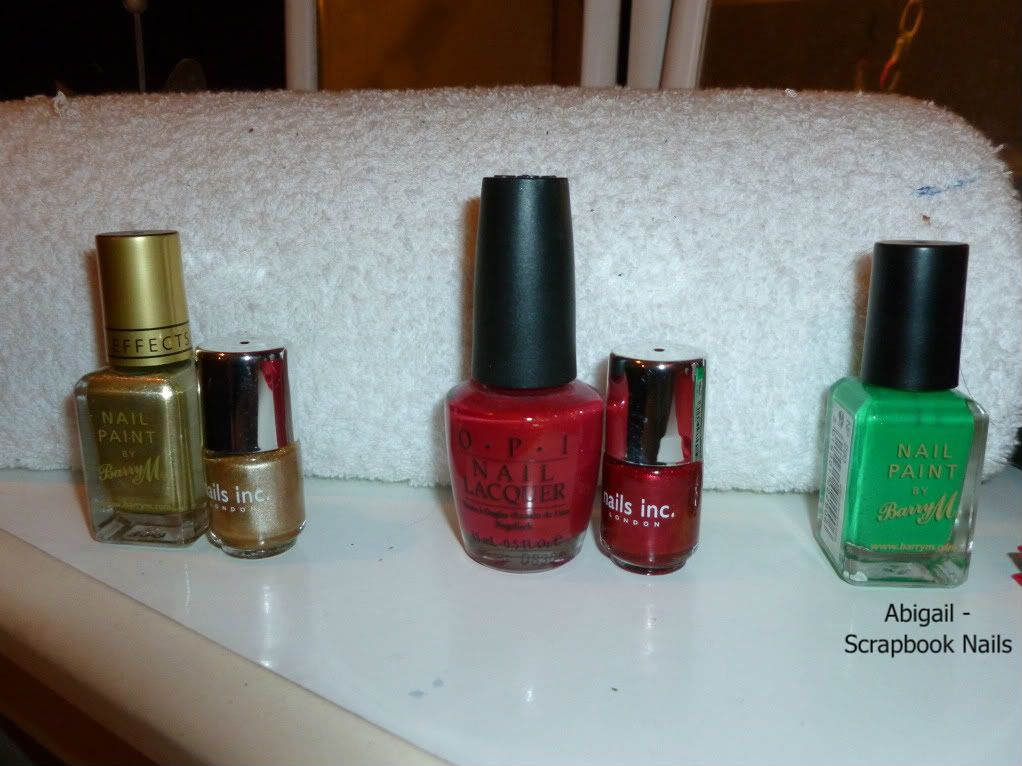
I used a base of OPI's Alpine Snow, then for the marble colours I had a few options (shown below) but in the end, I used:
Barry M's Gold Foil - 320
Barry M's Spring Green - 290
and Nails inc Aspen

I did different patterns on each hand, my right hand is more bold and blocky - and the most Christmassy!


Photobucket
Photobucket
PhotobucketPhotobucket
Photobucket Photobucket